
At Beauty Dummy we love a “treat yo self” day. If you’re feeling extra fancy you might splurge on a professional mani–pedi, a blowout, maybe a burrito...but an expensive manicure and the manual labor of your everyday life might not be the best combo. Scrubbing that pot of mac and cheese residue that you’ve had “soaking” for two days is probably going to chip those nails and leave you feeling guilty. So why waste that cash when you can do it yourself for next to nothing and touch it up whenever you want? We’ve got the lowdown on the best way to keep those claws looking classy AF: our DIY Professional Mani.
1. First thing’s first: You should probably go ahead and pee now, cause we know you’re going to have to go as soon as you finish polishing.
2. Next, start with clean, dry nails and remove any polish if needed.
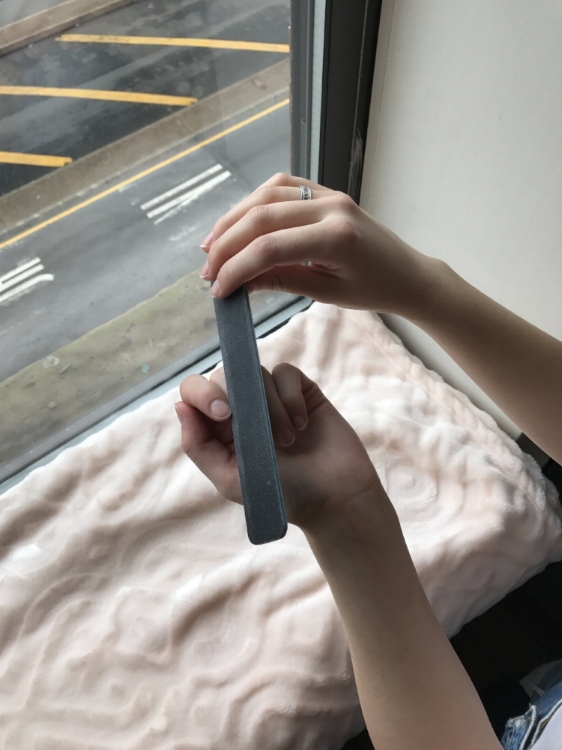
3. File those claws into your preferred shape. Hannah decided to go with a rounded shape. Filing in one direction will keep the nail smoother and less likely to tear or rip.

4. Lightly buff the top and sides of each nail. You should only have to go over each nail 2-3 times. With this step we just want to rough up the nail a bit for the polish to stick better. Buffing more than necessary can thin the nails and cause future breakage.

5. If you happen to have some cuticle oil or a super moisturizing lotion, rub it all around the base and sides of the nail into the cuticle area.
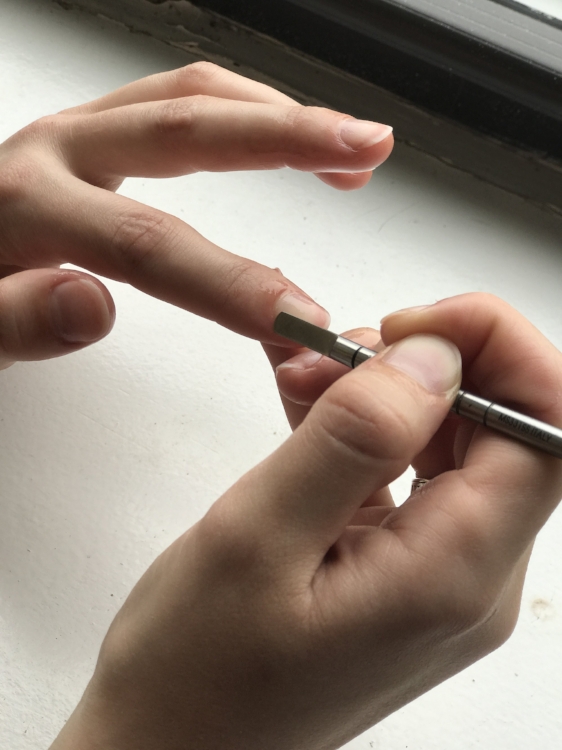
6. Gently push the cuticles back with a metal pusher or orangewood stick. If you don’t have either of those, you can use a towel. This step is important to make sure the polish goes on smoothly. Pushing the cuticles back also creates more space for polish on the nailbed and allows you to create that DIY mani like a professional.
7. Wash and dry your hands thoroughly to remove any lotion or oils.

8. For a base coat, Hannah used Rejuvacoat to help keep her nails strong and protected from the polish. Lightly coat each nail. Don’t forget to always roll the polish bottle between your hands to mix it first!

9. Apply your preferred polish to all of your nails! Hannah used Essie’s Bachelorette Bash. Start at the middle of the nail, push the polish back towards the cuticle and then forward towards the tips and down the sides. This will help keep you from applying too much at the cuticle which can create more cleanup at the end.
10. Apply another coat of polish to all ya tips. Coat the nail the same way you did in Step 8, but make sure to lightly polish the edge of the tip of the nail as well. This will help prevent chipping.
11. Time for top coat! We used the Rejuvacoat again because...we can. You could also use a clear polish for this step. Don’t forget to apply this to the tip of the nail as well.
12. Let those suckers dry or stick them under a fan or a blow dryer on cool.

13. Clean up any stray polish with a bit of acetone and a cue tip.
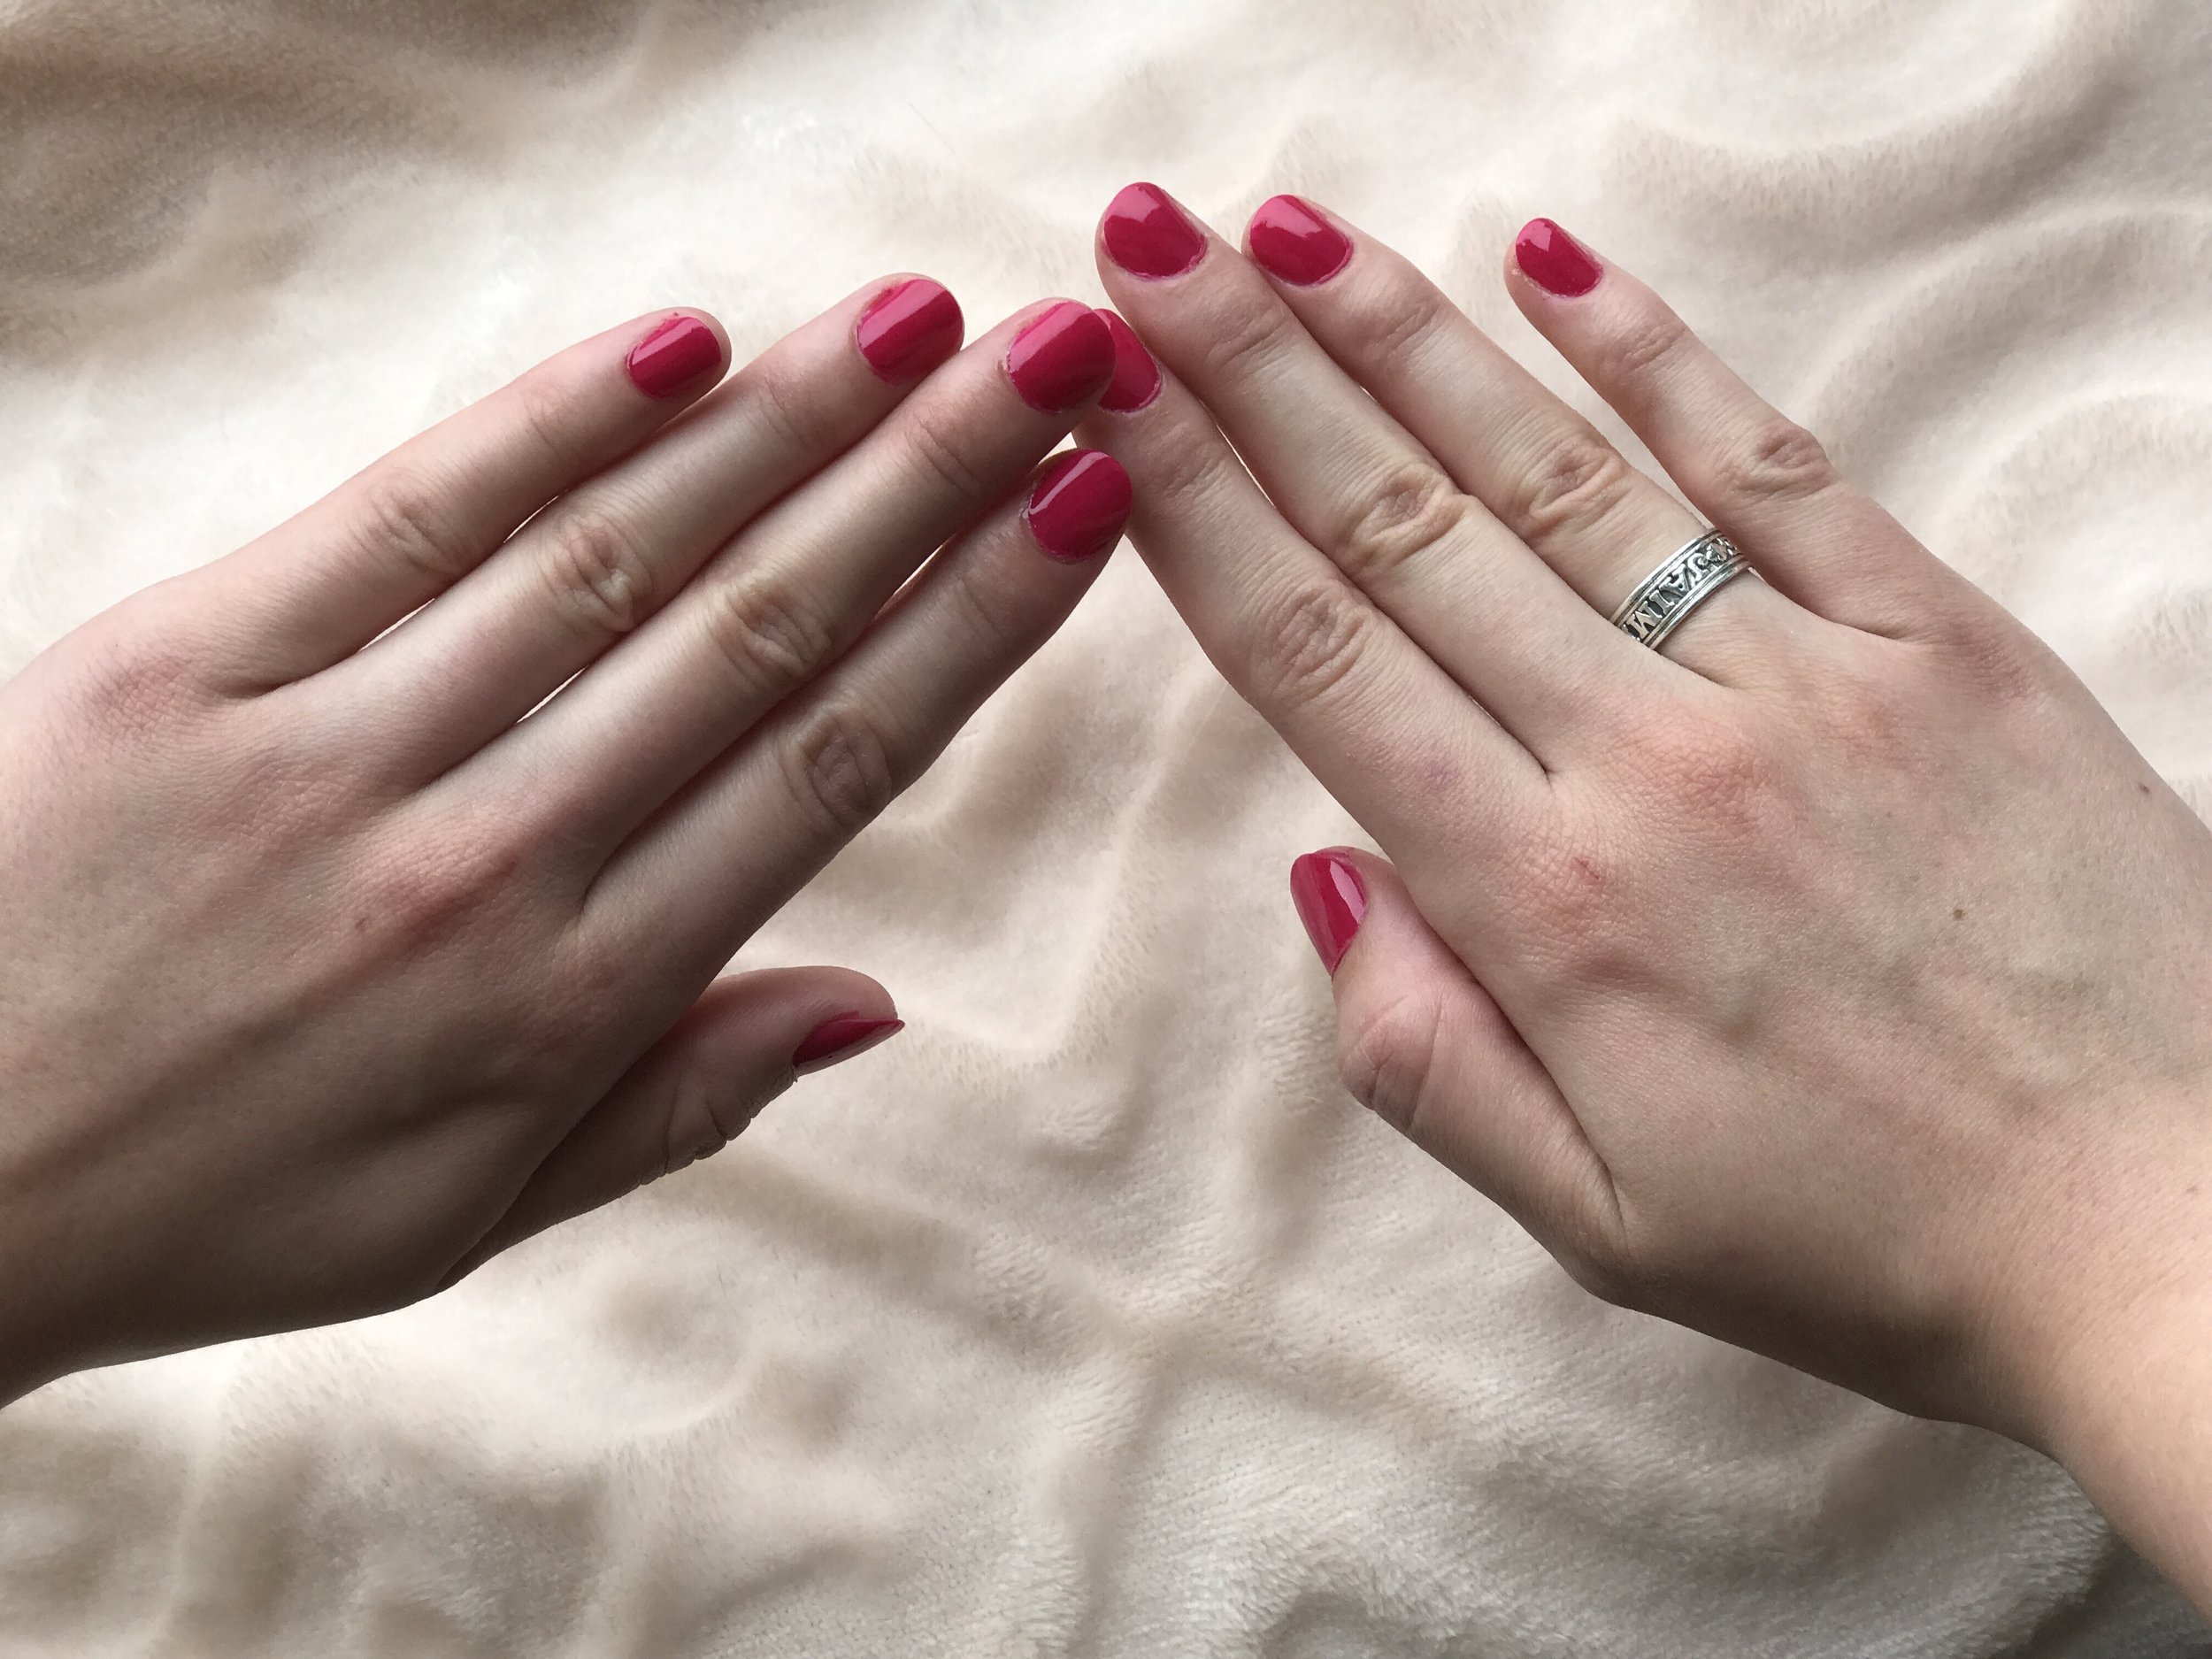
Now you’re lookin fly and ready to take on the world!!!! Or at least you’re ready to take on that mac and cheese pot and not feel like you’re washing an expensive mani down the drain. Touch up your polish as needed but if you follow these steps, your DIY mani will hold up as professional as poss!