
Mascara can be annoying. It’s hot out! You wanna rub your eyes. You’re trying to go swimming and not end up with streaks down your face. You’re still into the whole #Iwokeuplikethis thing. Or maybe makeup is just too time consuming on the daily. That’s where lash tinting–aka darkening your lashes with dye–comes in. This once-a-month 30 min process will totally change up your routine. Even if you have naturally dark lashes, tinting them will deepen their color and allow them to appear longer and thicker.
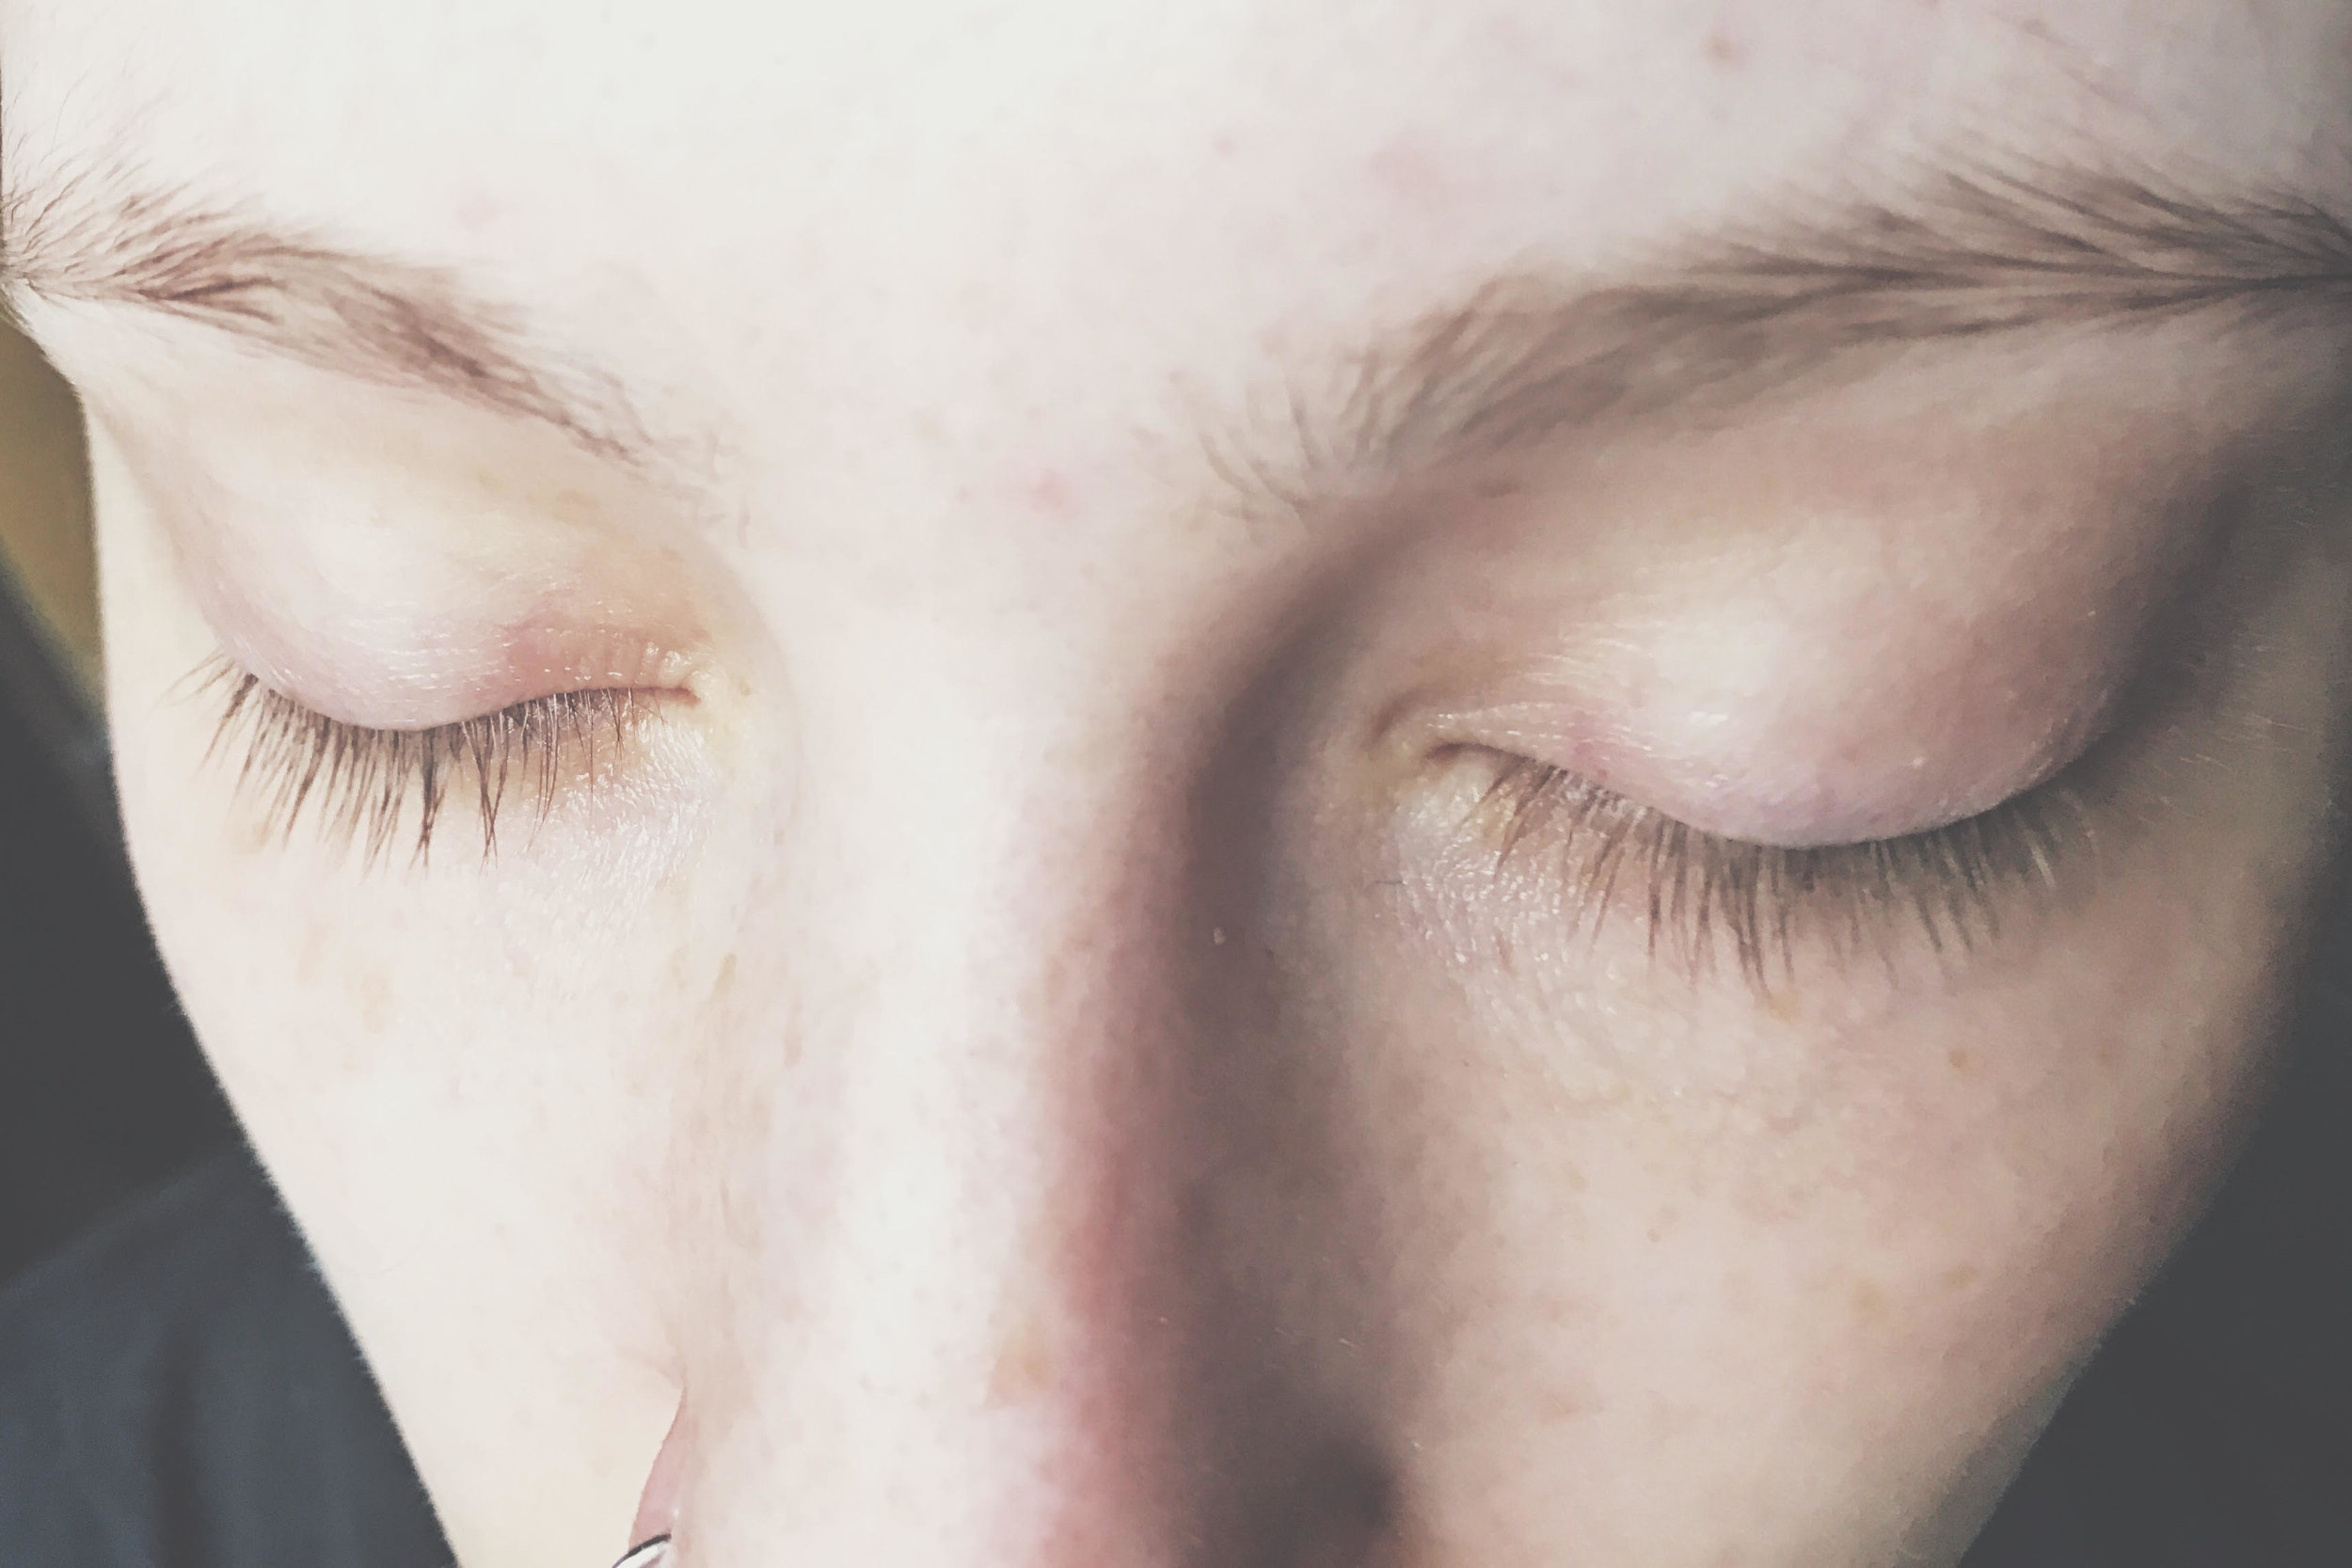
This is what Hannah's lashes look like naturally. Darkening them keeps her from needing to put mascara on every day for her lashes to make a statement.
how to do it
First, select and purchase your tint. You can pick up these types of products at your local beauty supply or on Amazon. We like this kit by Intensive because it’s the least abrasive product we’ve used, and it’s pretty affordable. (It can also be used to tint your brows. That post is coming soon!) We chose black because Hannah has super blonde lashes and she wanted them as dark as possible. Whichever brand you buy, make sure you pick up the color tube AND the developer or it won’t work.
***DISCLAIMER: Although this is the least abrasive lash tint we have used, everyone reacts differently. You still do NOT want this product in your eyes because you will experience some irritation. Always patch test first! Anything involving the eyes is extremely sensitive, so be sure to use extra caution, and follow the instructions of the product you’re using.
Grab your color tube, developer, and a small cup (tip: you can use a bottle cap for this!) Squeeze out about an inch of color into the cup and apply 5 or so drops of the developer (read the brand-specific instructions.) Mix together thoroughly.
Next, apply some of vaseline or Aquaphor to the skin around your eyes to guard it. You’ll want to put this on the eyelids, as well as to the skin under your lower lashes. ***make sure NOT to get this on your lashes themselves or the color will not take***
Cut a cotton round in half and apply each half under the lower lashes. The Aquaphor guard will allow the cotton round to stick to your skin and help protect you from color transfer.
Lightly coat a clean mascara wand with color and apply thoroughly to the lashes. This is going near your eyeballs so make sure there aren’t globs of color all over the wand. Tinting is always best applied on closed eyes but that can be really difficult to do on yourself, so it helps to grab a friend for this part. Hannah actually did it with her eyes open 👀 , but she was really careful not to apply to close to the lash line.
Let process 5-10 minutes or until you can see the color darken.
Keeping your eyes closed tightly, thoroughly rinse with warm water several times or gently wash with your regular face wash.
Pat dry and clean up any color stains on your skin with a Q-tip and some color remover.
Enjoy looking wide eyed 24/7! These results should last you at least a month. Tag us at #beautydummyhair to show off your mascara-free lashes!

After!
Summary
You’ll need
- Eyelash tint of your selected color
- Clean mascara wand
- A bottle cap or small cup
- Vaseline or Aquaphor (“guard”)
- Cotton round cut in half
- Q-tip for cleanup
Steps:
Select and purchase a tint for the color you’d like to achieve. Or buy a kit like this that has several colors and comes with remover for cleanup after.
Apply a thin layer of your guard product underneath your eyes and around the eyelids. Make sure you don’t get any on the lashes or the color won’t take.
Apply each half of your cotton round beneath the eyes (to prevent transfer to your skin.) It should stick to the guard and your bottom lashes should still be exposed.
Mix your color in a bottle cap or small cup, according to the directions on the box. A little bit goes a long way.
Thinly coat the mascara wand in the lash color.
Apply your tint on the tops and bottoms of the lashes, similarly to how you would apply mascara.
Wait 5-10 minutes for the color to develop.
Rinse with water really well.
Use the color remover and a Q-tip to remove any color stains on the skin.
Bat those lashes and ditch the mascara! Tag us at #beautydummyhair