2017 has undoubtedly been the Year of the Brows. But we know filling in your eyebrows every day can be time consuming and labor intensive. If you’re not in the mood to layer on the products but still want a defined look, tinting–aka darkening your brows with dye–can be an easy route to skip the makeup all together. The process only takes 10 minutes tops and only needs to be reapplied once a month or as needed (for example, harsh face washes will make it fade faster). Whether you have blonde brows or naturally dark brows, tinting will darken the baby hairs that might not normally be visible, giving you a thicker, fuller look.
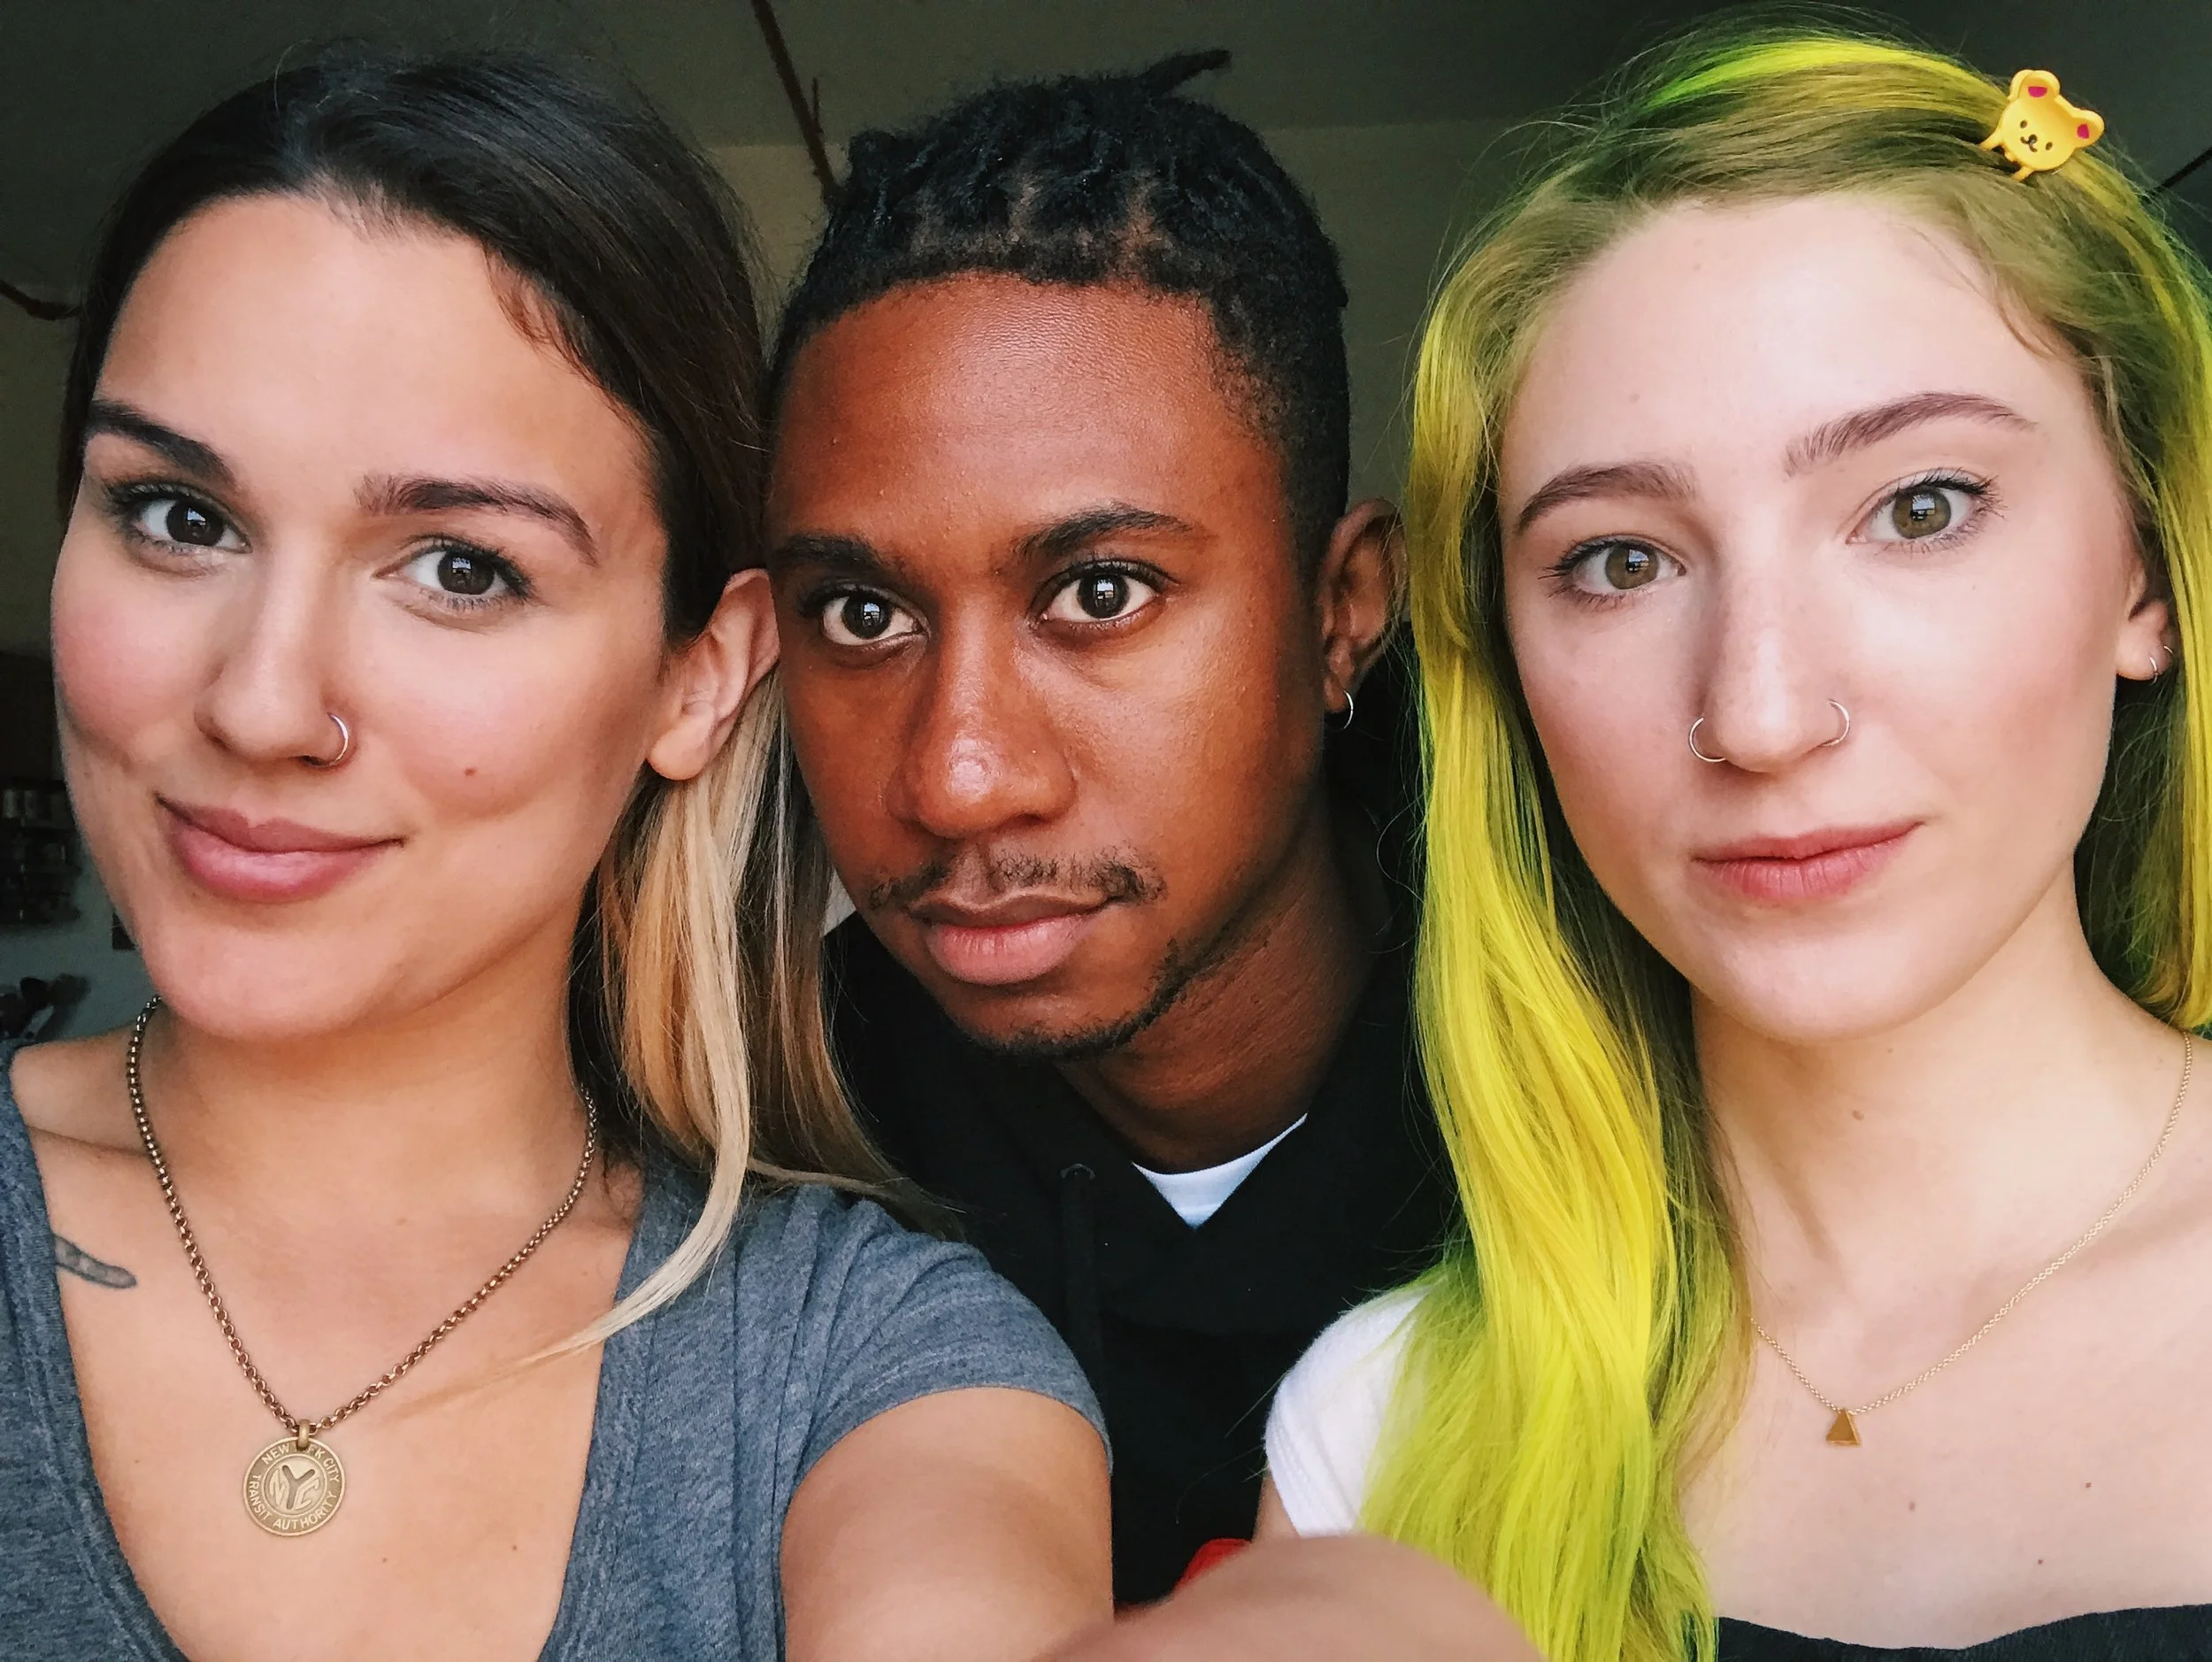
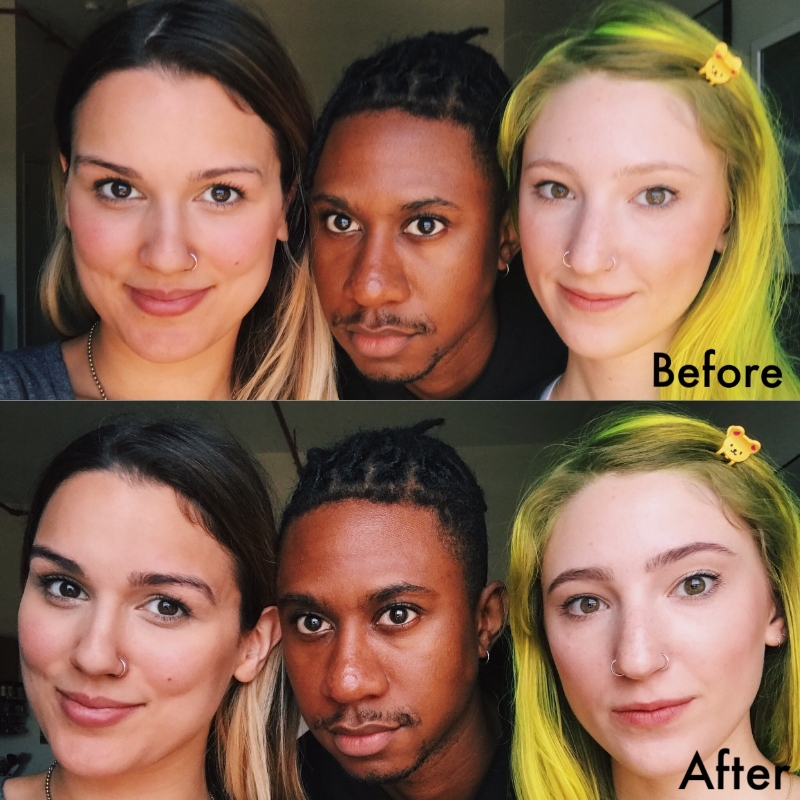
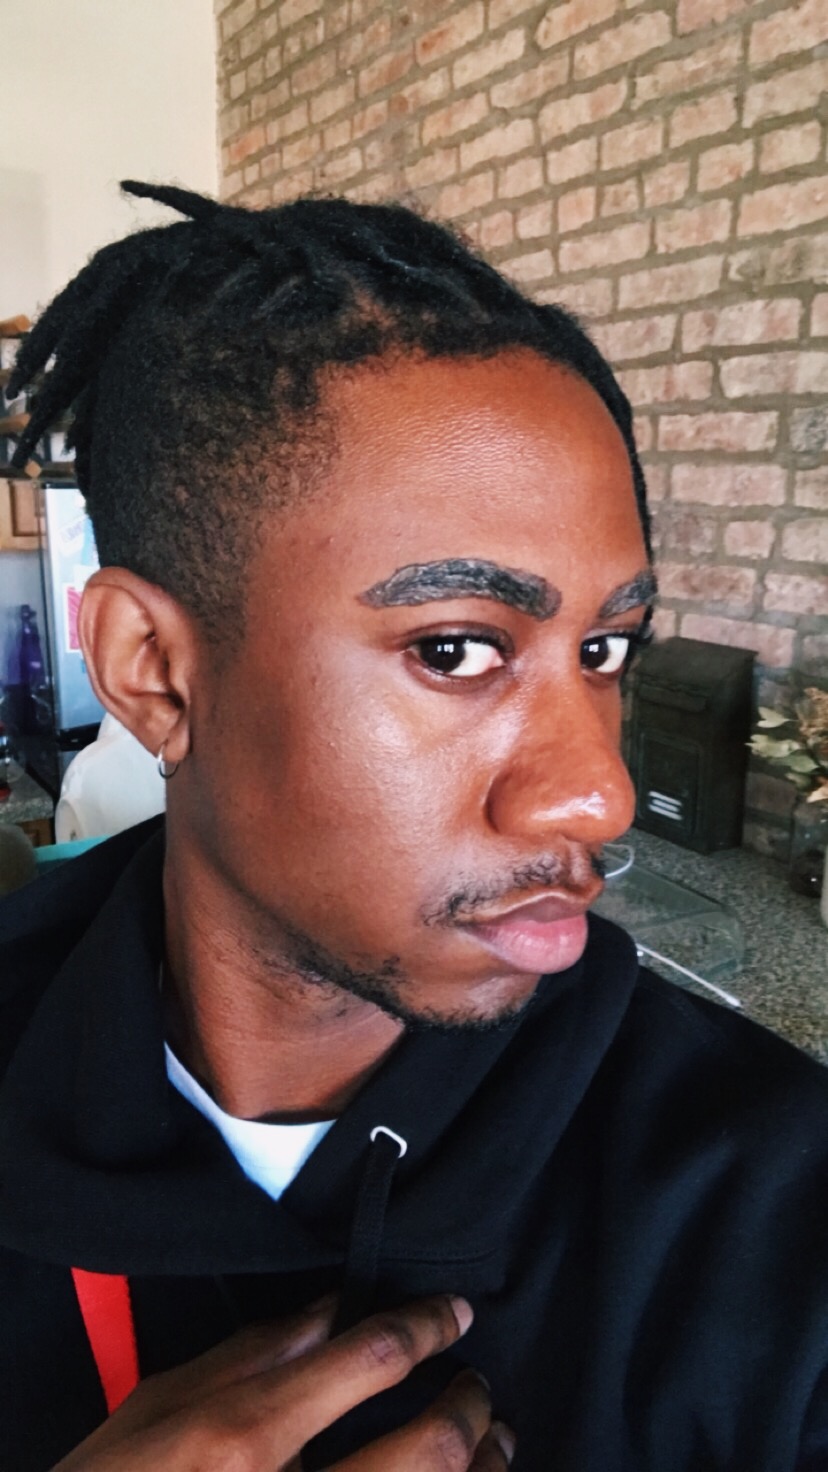
We purchased this kit on Amazon by Godefroy because it’s cruelty free and also pretty affordable. Plus it comes with all the tools you will need. We chose the color Medium Brown because it’s pretty versatile – you can get achieve varying shades just by leaving it on at various times. To show this, we used the same box color on Hannah's, Kathryn's, and our friend Bradford's eyebrows – all different shades.
***Allergy and safety warning! Although we did not experience any allergic reactions, everyone’s skin is different. Always patch test first! Anything involving the eyes area is extremely sensitive, so be sure to use extra caution, and follow the instructions of the product you’re using.
Here’s how to do it:
Unpack your color kit and set aside the brush, small bowl, bottle of developer, one color capsule, and a napkin or paper towel. Carefully open your color capsule into the small bowl and add ¼ teaspoon of developer. Mix together thoroughly with the brush.
Next, generously apply the tint to the brows in the shape you normally fill them into. Or, follow along the natural shape of the brow. Be careful not to get this in your eyes. ***make sure you NEATLY apply this in the shape you’d like them to be as it will very slightly tint the skin and darken any baby hairs you may not normally see*** Keep in mind that eyebrow hairs grow in several different directions so it’s important to push the product into the brows at different angles to make sure it’s thoroughly saturating all the hairs.
Be sure to saturate all the little baby hairs around your visible brows.
Allow the tint to process 1-2 minutes for a medium brown color and up to 4 minutes for black.
Wipe the tint off and gently scrub any stains remaining on the skin with a damp paper towel. If you have sensitive skin you can gently wash your face but don’t scrub the brows with soap as this will lighten them.
Pat dry and enjoy!
Tip: You may find that after you're done, you've got some more noticeable strays. It's good to keep some tweezers on hand.
Summary
You’ll need
Eyebrow tint kit of your selected color
Clean angled brush or mascara wand
A small cup or bottle cap
Damp paper towel for cleanup
Steps:
Select and purchase a tint for the color you’d like to achieve. Or buy a kit like this that comes with everything you need.
Mix your color in a bottle cap or small cup, according to the directions on the box. A little bit goes a long way.
Generously coat the angled brush or mascara wand in the brow color.
Apply your tint on the brow in the shape you’d like to achieve, similarly to how you would fill in your brows.
Wait 1-4 minutes for the color to develop.
Remove tint with a damp paper towel and gently wipe away any additional stains.
Tweeze your strays
Proceed to look good as hell! Oh and then go tag us at #beautydummy


we post cute stuff on insta too